How to Can Food: Home Canning Basics for Beginners
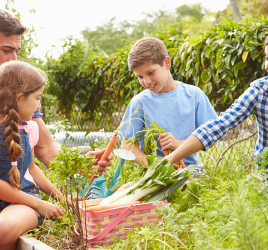
 If you have chosen to grow your own home garden this summer, you might have found yourself swimming in a sea of red juicy tomatoes. Or maybe you have endless amounts of crispy green cucumbers.
Regardless of what you have planted in your garden, when you have too much, you might want to find way to make good use of your precious veggies. Finding accepting friends and family who will take those ripe vegetables is one option.
However, you might be looking for a way to preserve those treasured treats long into the winter months. Canning is a great option to help preserve the life of your garden.
Canning Basics
Canning might not seem that involved, but it is important that it is done property. According to the Huffington Post, “when canning, you will use ordinary kitchen skills but must observe instructions exactly to ensure that the food is sterilized and safe.”
As in most parts of cooking, there can be a lot of flexibility. When it comes to canning, it is important to make sure to follow the instructions exactly to ensure that the food is disinfected and safe. Huffington Post referred to canning as a “precision form of cooking.”
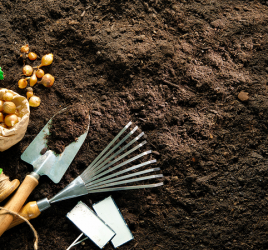
Canning Supplies
When it comes to canning, there are some specific supplies that will help you feel great and make it easy for you. You will first need home canning jars. Choose the type of jars and lids that you want to use. They come in a variety of sizes. Make sure the jars do not have cracks or chips. It is recommended to use new flat metal disks for the lid because the gasket around each rim can begin to deteriorate after sitting in storage for multiple years.
The second part of canning will be using the right tools and utensils. Some of the basics will include: a plastic or stainless steel canning funnel, a stainless steel ladle, a canning far lift with rubber grips, a good pair of kitchen tongs, and a magnetic lid lifter and bubble remover. You can find canning utensil kits just about anywhere that will include the most important utensils.
Preparation
When it comes to canning, making sure that you prepare property might be the most important part of the process. To sterilize the jars and lids you will want to wash both in hot, soapy water. You can use hand or dishwasher soap. Once the lids and jars are cleaned, you will want to sterilize them. You can do that by submerging them into hot water and boiling them for about 10 minutes. Once the ten minutes are finished, do not remove the lids and the jars from the water. Keep them inside until you are ready for them to be used. There are tools that can be bought that allow you to lift the jars and lids out of the hot water.
Preparing the Fruit and Vegetables
When you decide what fruit and vegetable that you want to can, make sure that you choose the best ones. Try to avoid any that might be overripe or blemished. The best time to can is immediately after you have harvested. Find and choose a recipe. Cut your fruit or your vegetable according to the recipe instructions. Huffington Post suggests that you avoid using utensils made of aluminum, copper, iron, or chipped enamel.
Fill That Jar Up
Fill the jars with the produce and then add either boiling water, pickling solutions, or a sweet syrup depending on what you are choosing to can. Make sure to leave a little room between the contents and the top of the jar because the produce will expand. Most fruits and vegetables need about half of the space. The recipe you choose should help you when doing this step. Don’t be afraid to measure it out exactly too as having too much or too little space between the jar can cause problems.
Using soft plastic spatula, push the produce down in each jar so that it lies under the liquid. You can use the spatula to run along the inside of the jar to eliminate air bubbles. Then add your sterilized lid to the jar.
Once you have the lids in place you will want to use a jar lifter to place jars into the pot and place on the canning rack that is placed inside a large pot. Cover and bring to a boil. The amount of time that you need to boil the jar will be specified in your recipe. After that time, turn off the heat and let the jars still for five minutes. Using your jar lifter, lift your jars out and allow them to cool on a wire rack for twelve hours. After the jars are cooled completely, check to make sure that the lids did not move or pop up and down.
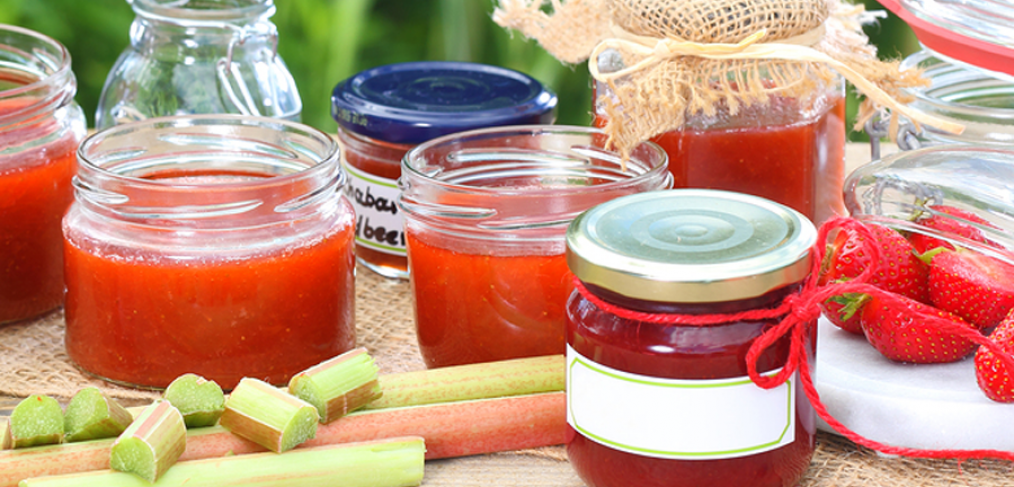
Label
The last step of the canning process will be to label what you have canned. It might be helpful to write on the label the date that you canned and how long it can be stored. Store your jars with the ring removed in a cool dark place. While the food will keep safety for a long time, you may notice that the quality of the flavor and texture will decrease after a year. Use your canned produce within the first year to get the best results.
Wrapping Up
Canning is a great way to increase the life of your priceless produce. While it might feel like an intimidating process at first, it is extremely possible for anybody to can as long as they follow the process of canning.
Having the right tools are a great benefit to helping to make sure that you can in a way that helps to keep your produce sterilized and safe. You will be thanking yourself come mid-winter when you have amazing canned pickles, tomatoes, and carrots to use. The pride of knowing that you not only grew them yourself, but canned them will be worth all the effort.